A Simple Repair
Where it Started
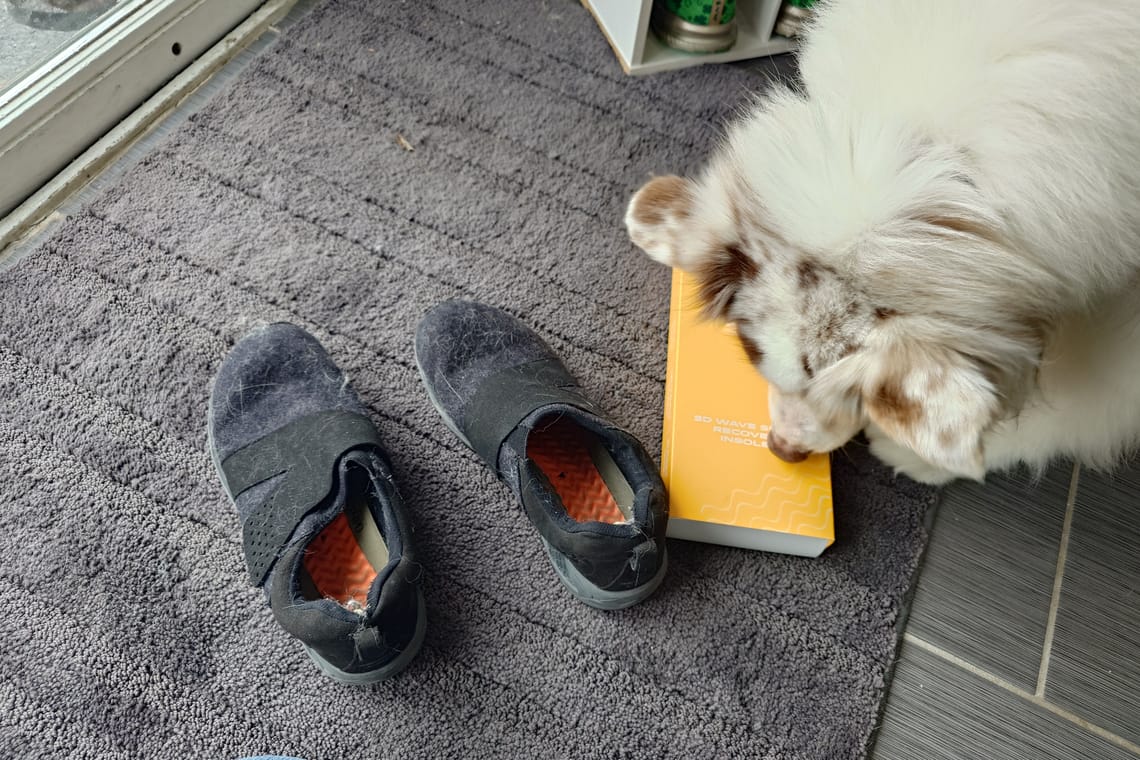
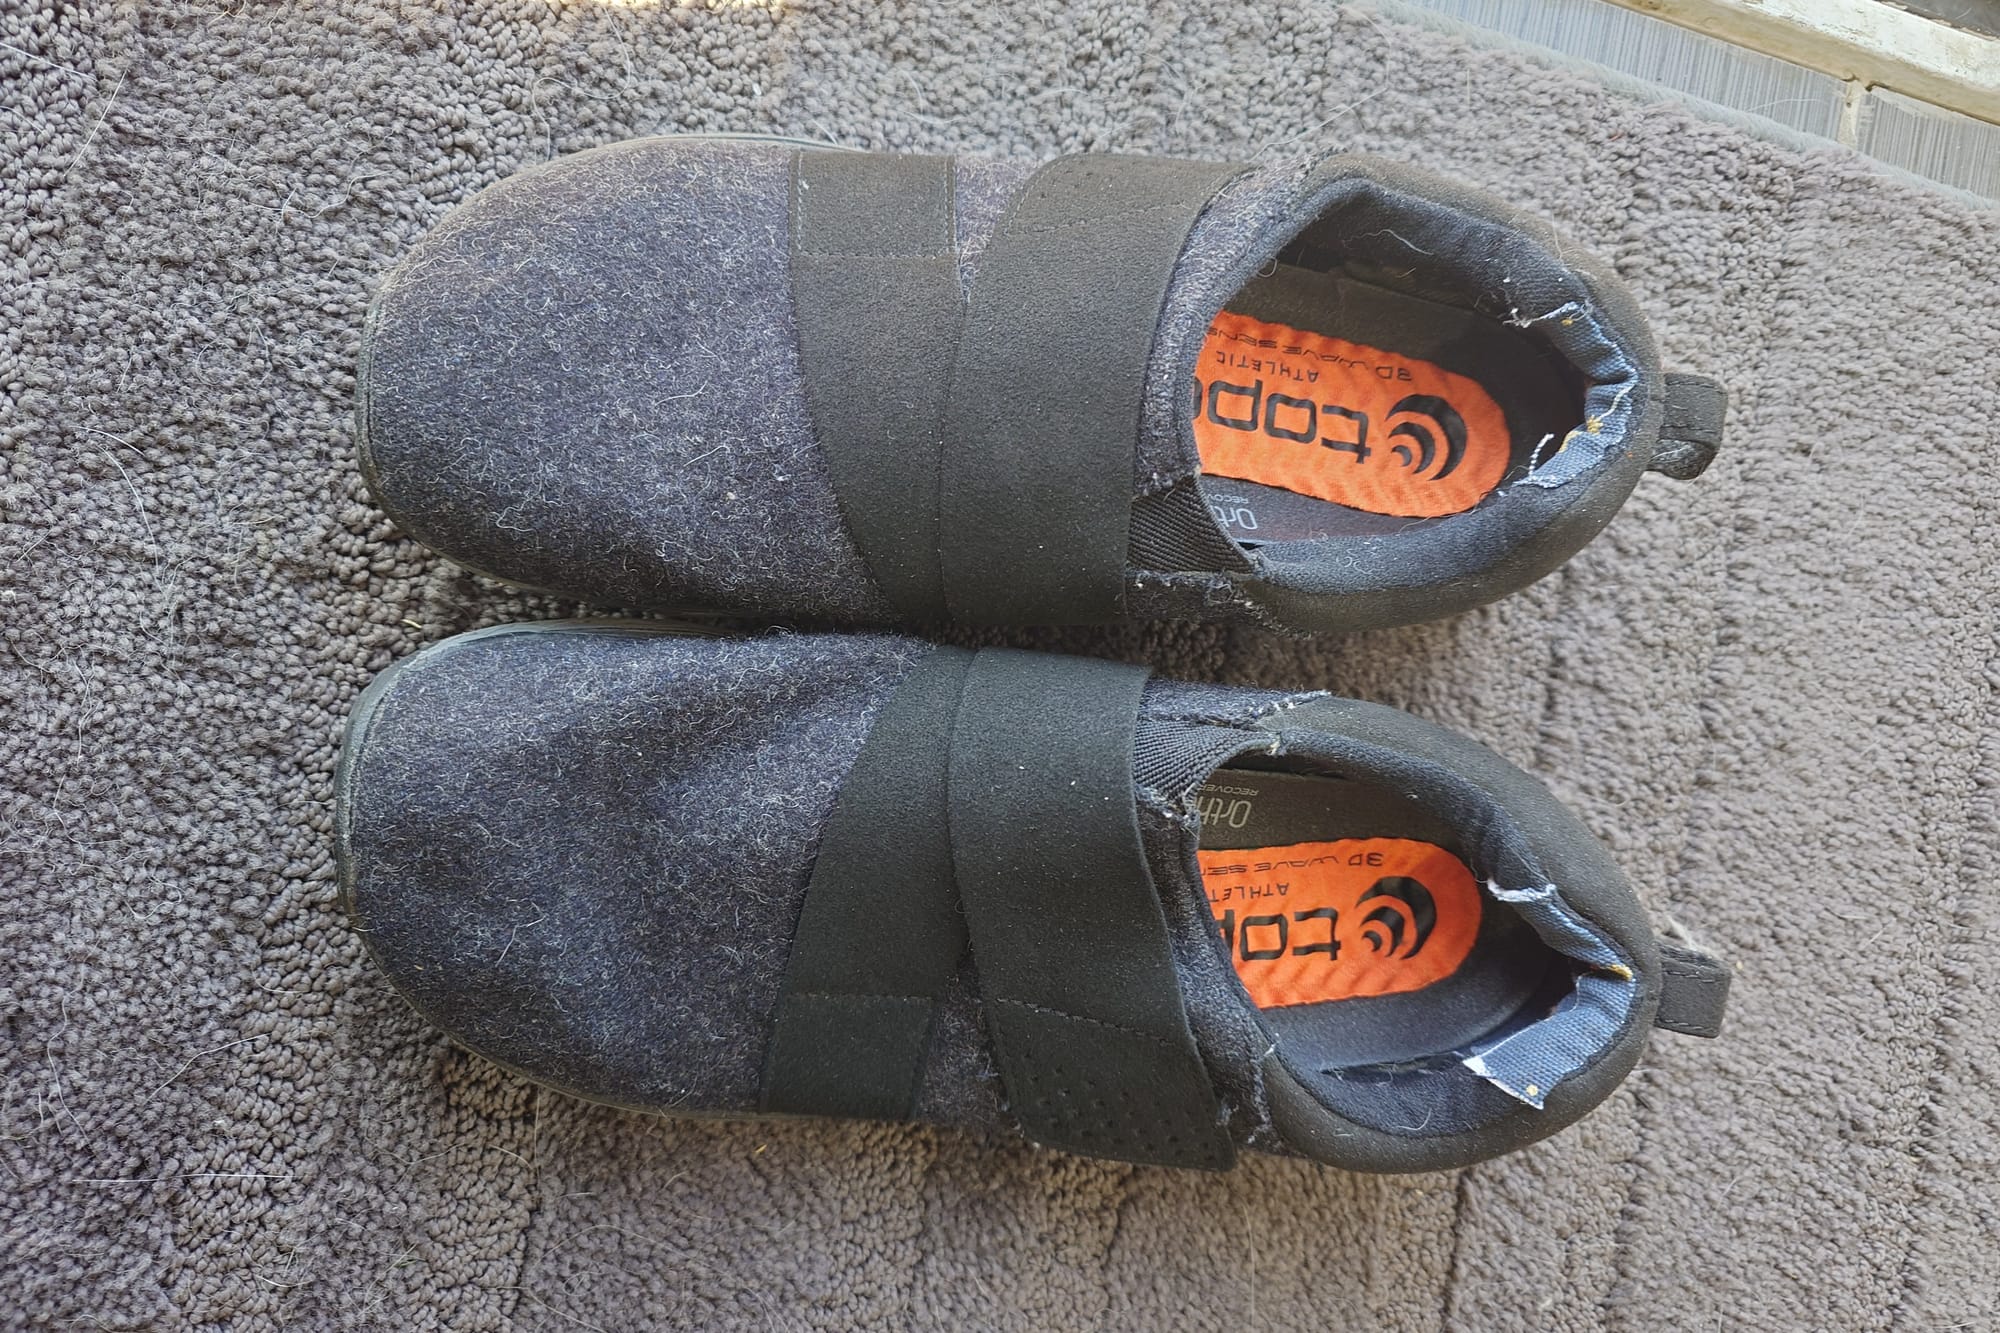
As a little backstory, I bought these shoes about 9-10 years ago when I was running regularly. They are shoes designed for recovery, with massaging insoles and a roomier toe box to help your feet breathe after a long run. While I haven't really been running anywhere near as much as I used to, I love these shoes, and was thinking about buying a new pair, when I noticed the company (TOPO) carries replacement insoles. I decided this would be a perfect opportunity to get my first post here going, so without further ado, let's start digging in!
I am not by any stretch a shoe-repair expert. The goal was to make this happen with as many of the resources I needed available at home already. The only thing I had to buy that only has one use is the insoles. I also bought the fabric glue, because I didn't have anything remotely strong enough to work for a project like this. That glue will have many more uses down the road.
Step 1: Inspecting the shoes
Once my Aussie, Zakara, finished her inspection, it was my turn. I didn't want to spend a bunch of time fixing something that wasn't worth the effort, so I verified the overall structural integrity of the shoe, as well as what damage I would need to and be able to repair. One of my biggest concerns was whether the tread on the shoes was still enough to bother with.
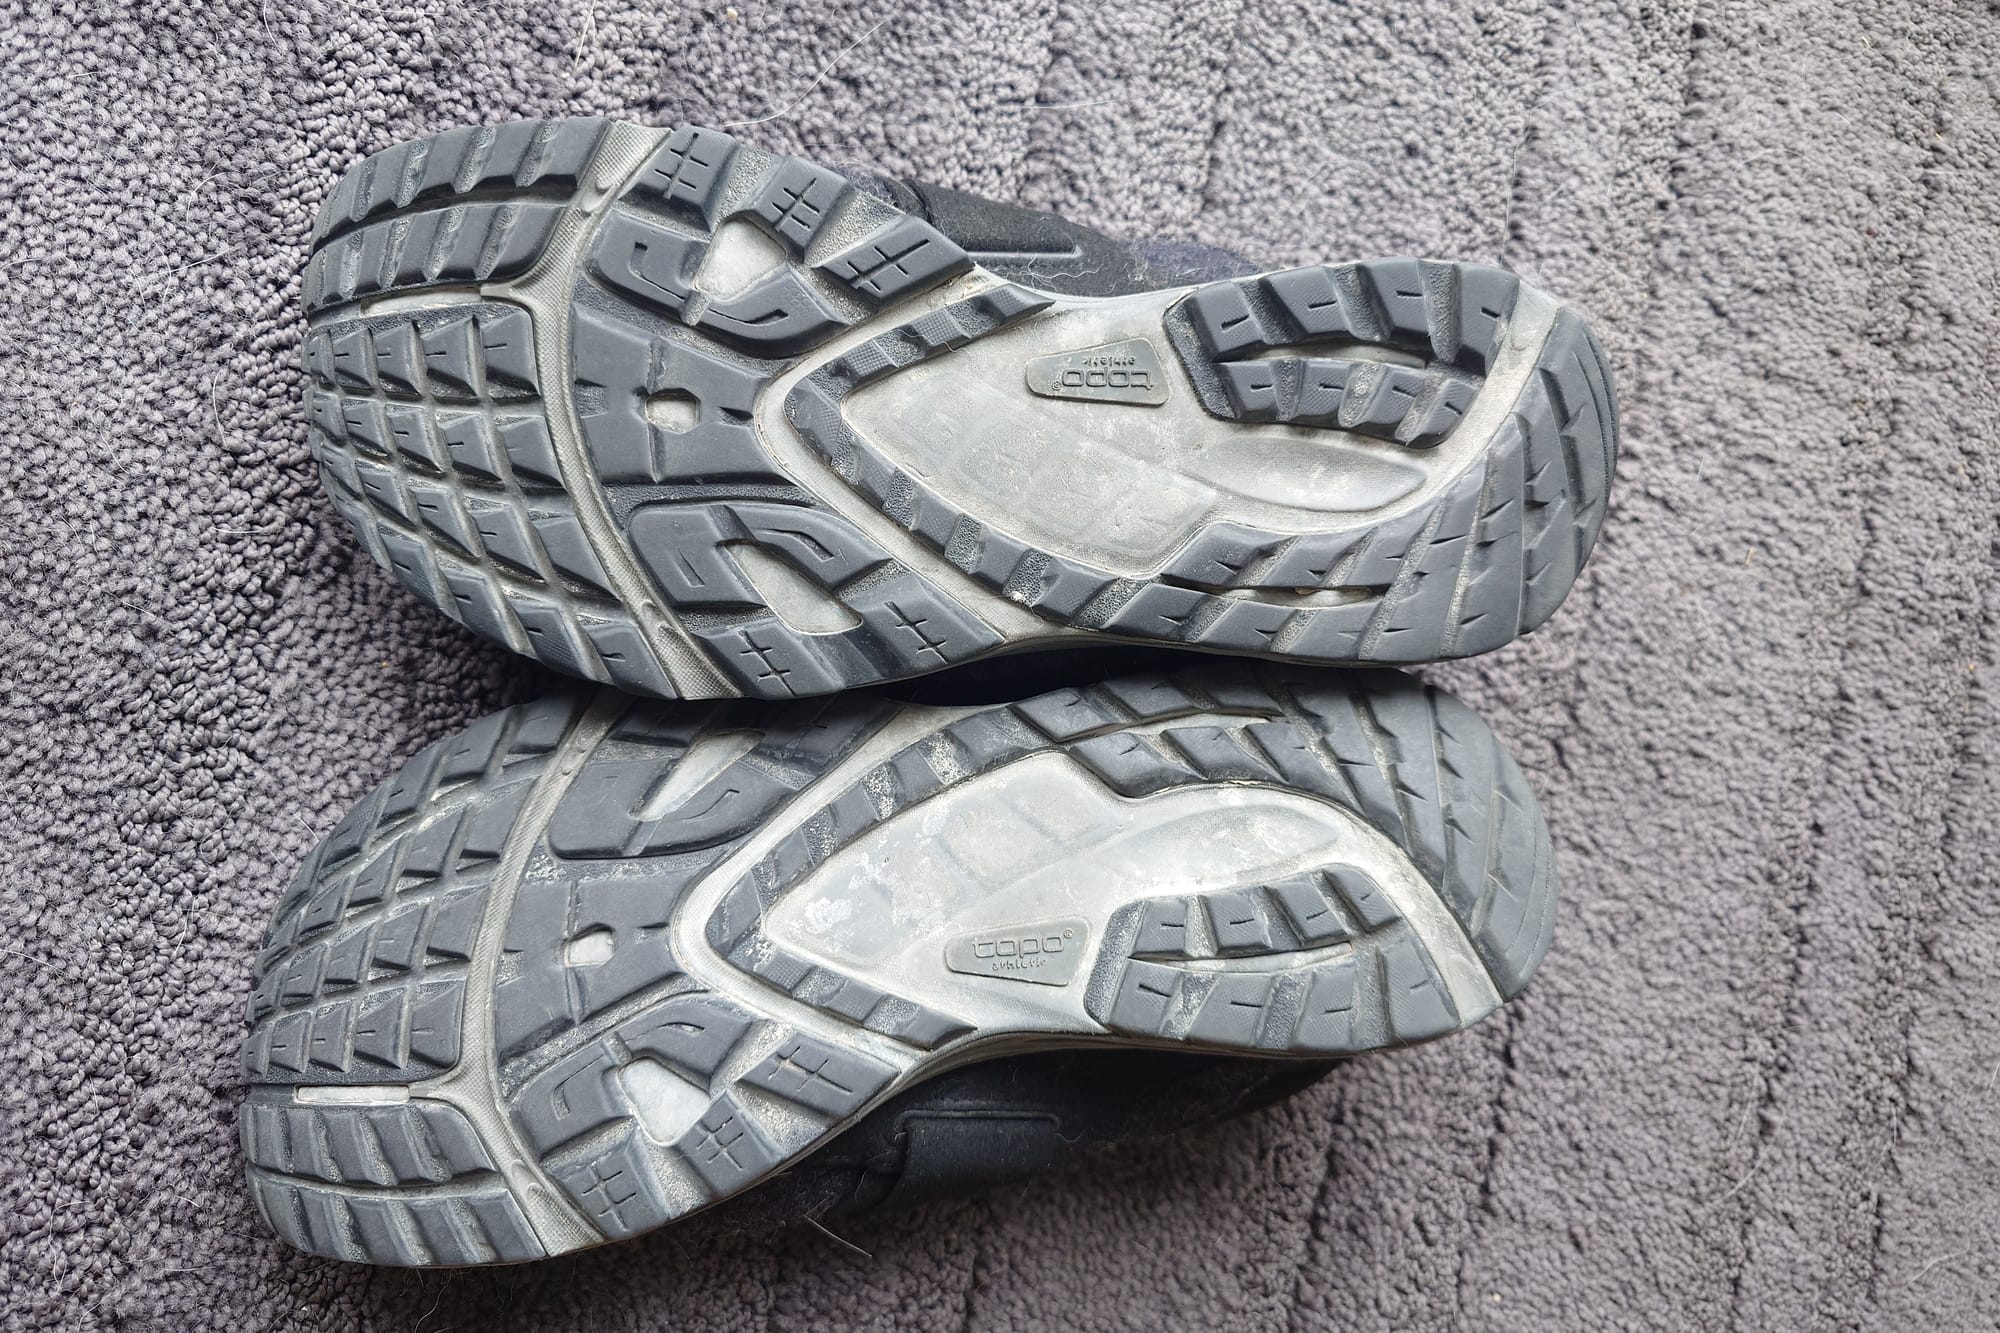
While obviously worn, the tread is still there and definitely enough that I don't need to worry too much about slipping and sliding a ton. This for me would be one reason to replace these shoes, since repairing (or replacing) the sole of shoes is a bit outside my skillset. I also suspect there are some limitations when it comes to what soles can and cannot be repaired (which is a topic for another post).
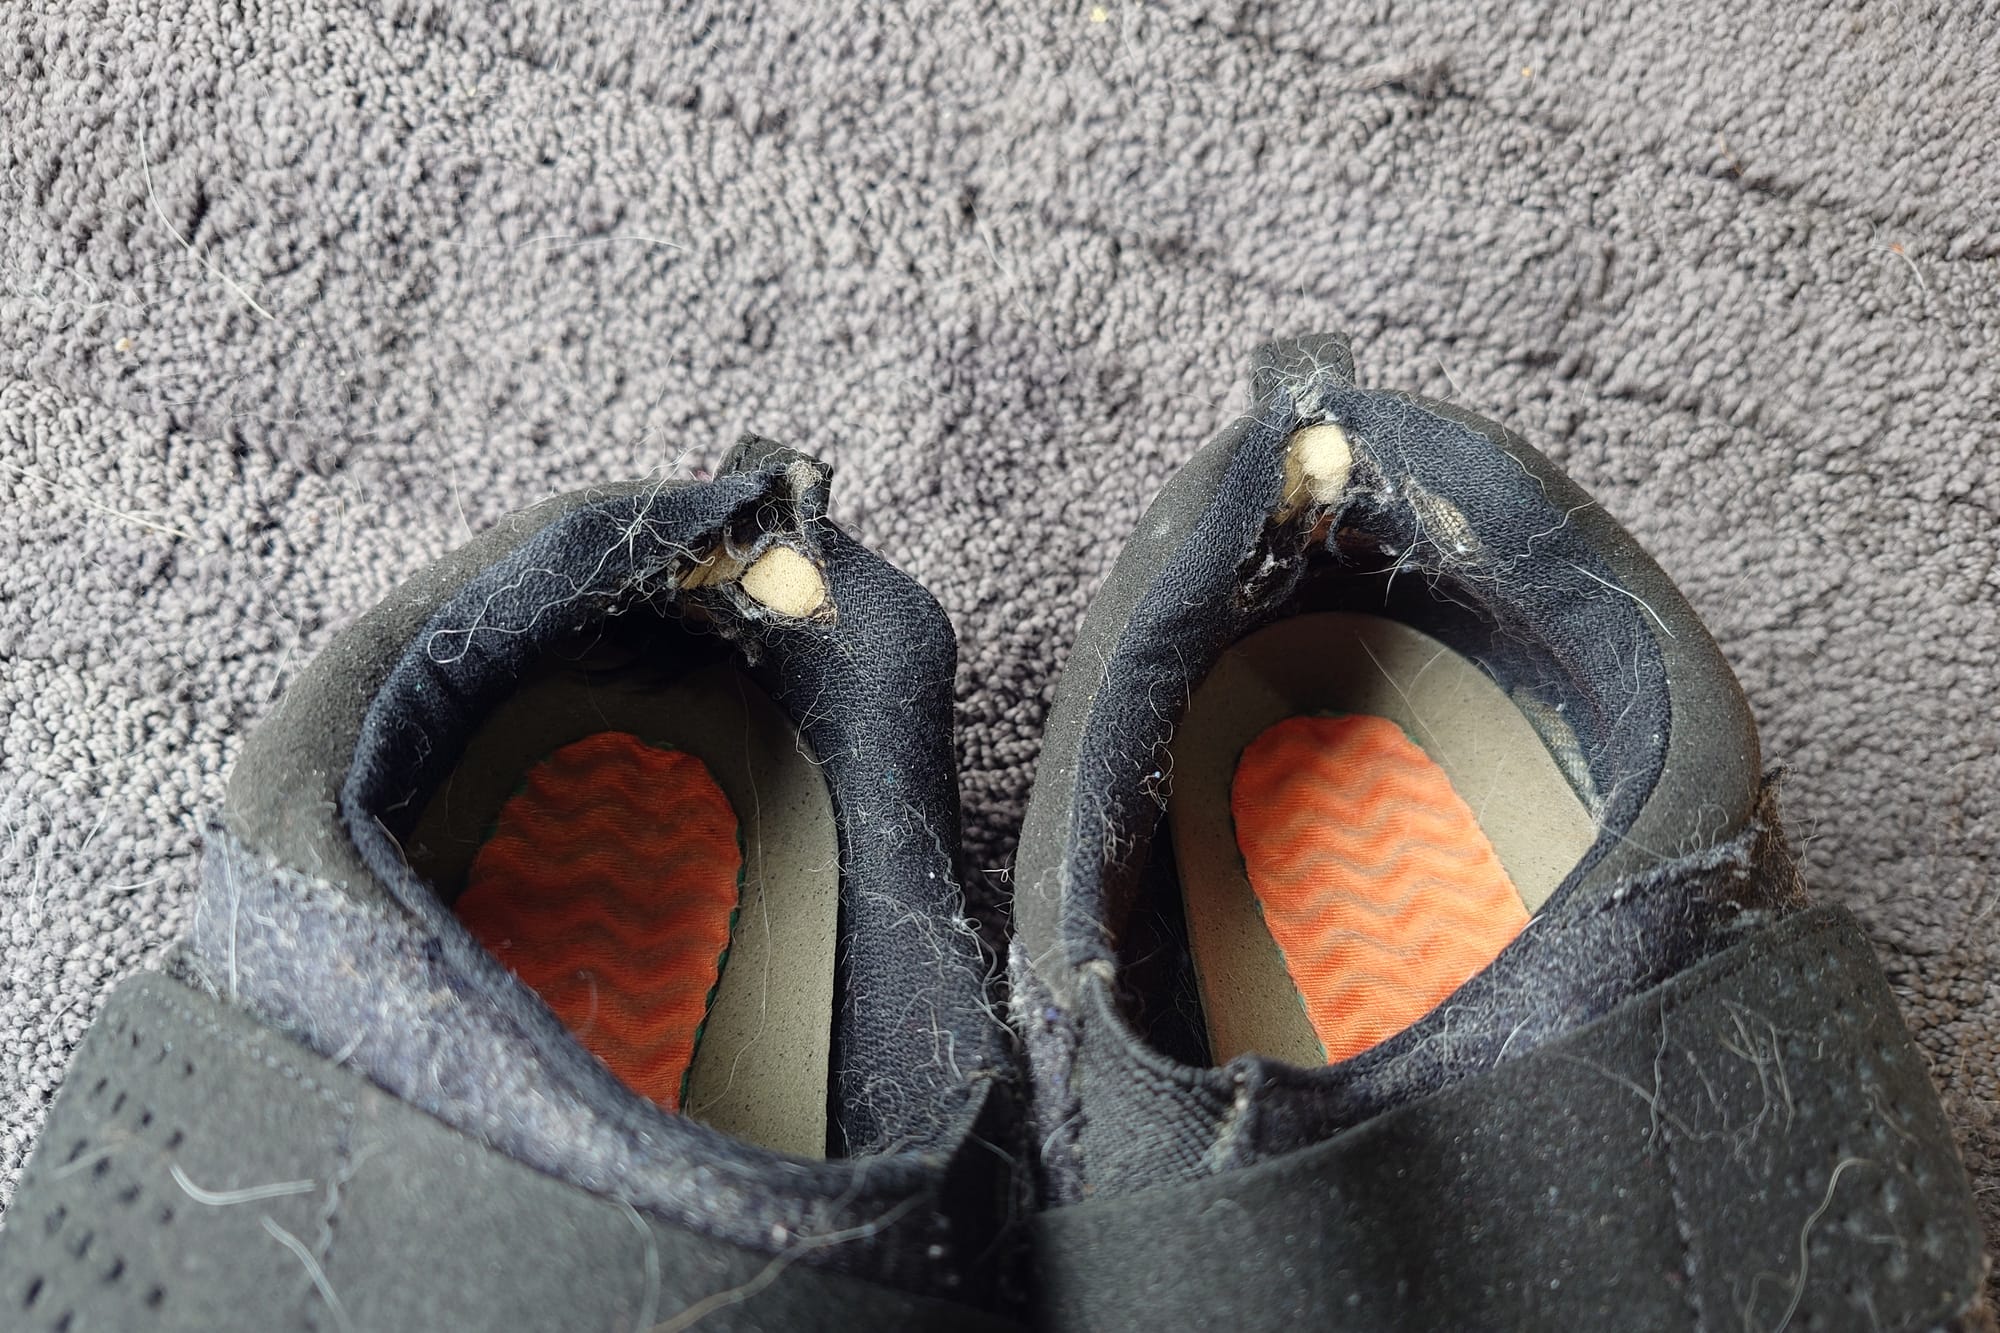
The main wear that I repaired is in the heel area. I am absolutely one for slipping shoes on and off without untying or loosening them. Yes, I am aware that this leads to more wear on my shoes, however one of my autistic sensory features is needing my shoes to feel a certain way reliably, so here we are. Fortunately this is easily repaired.
Step 2: Gathering supplies
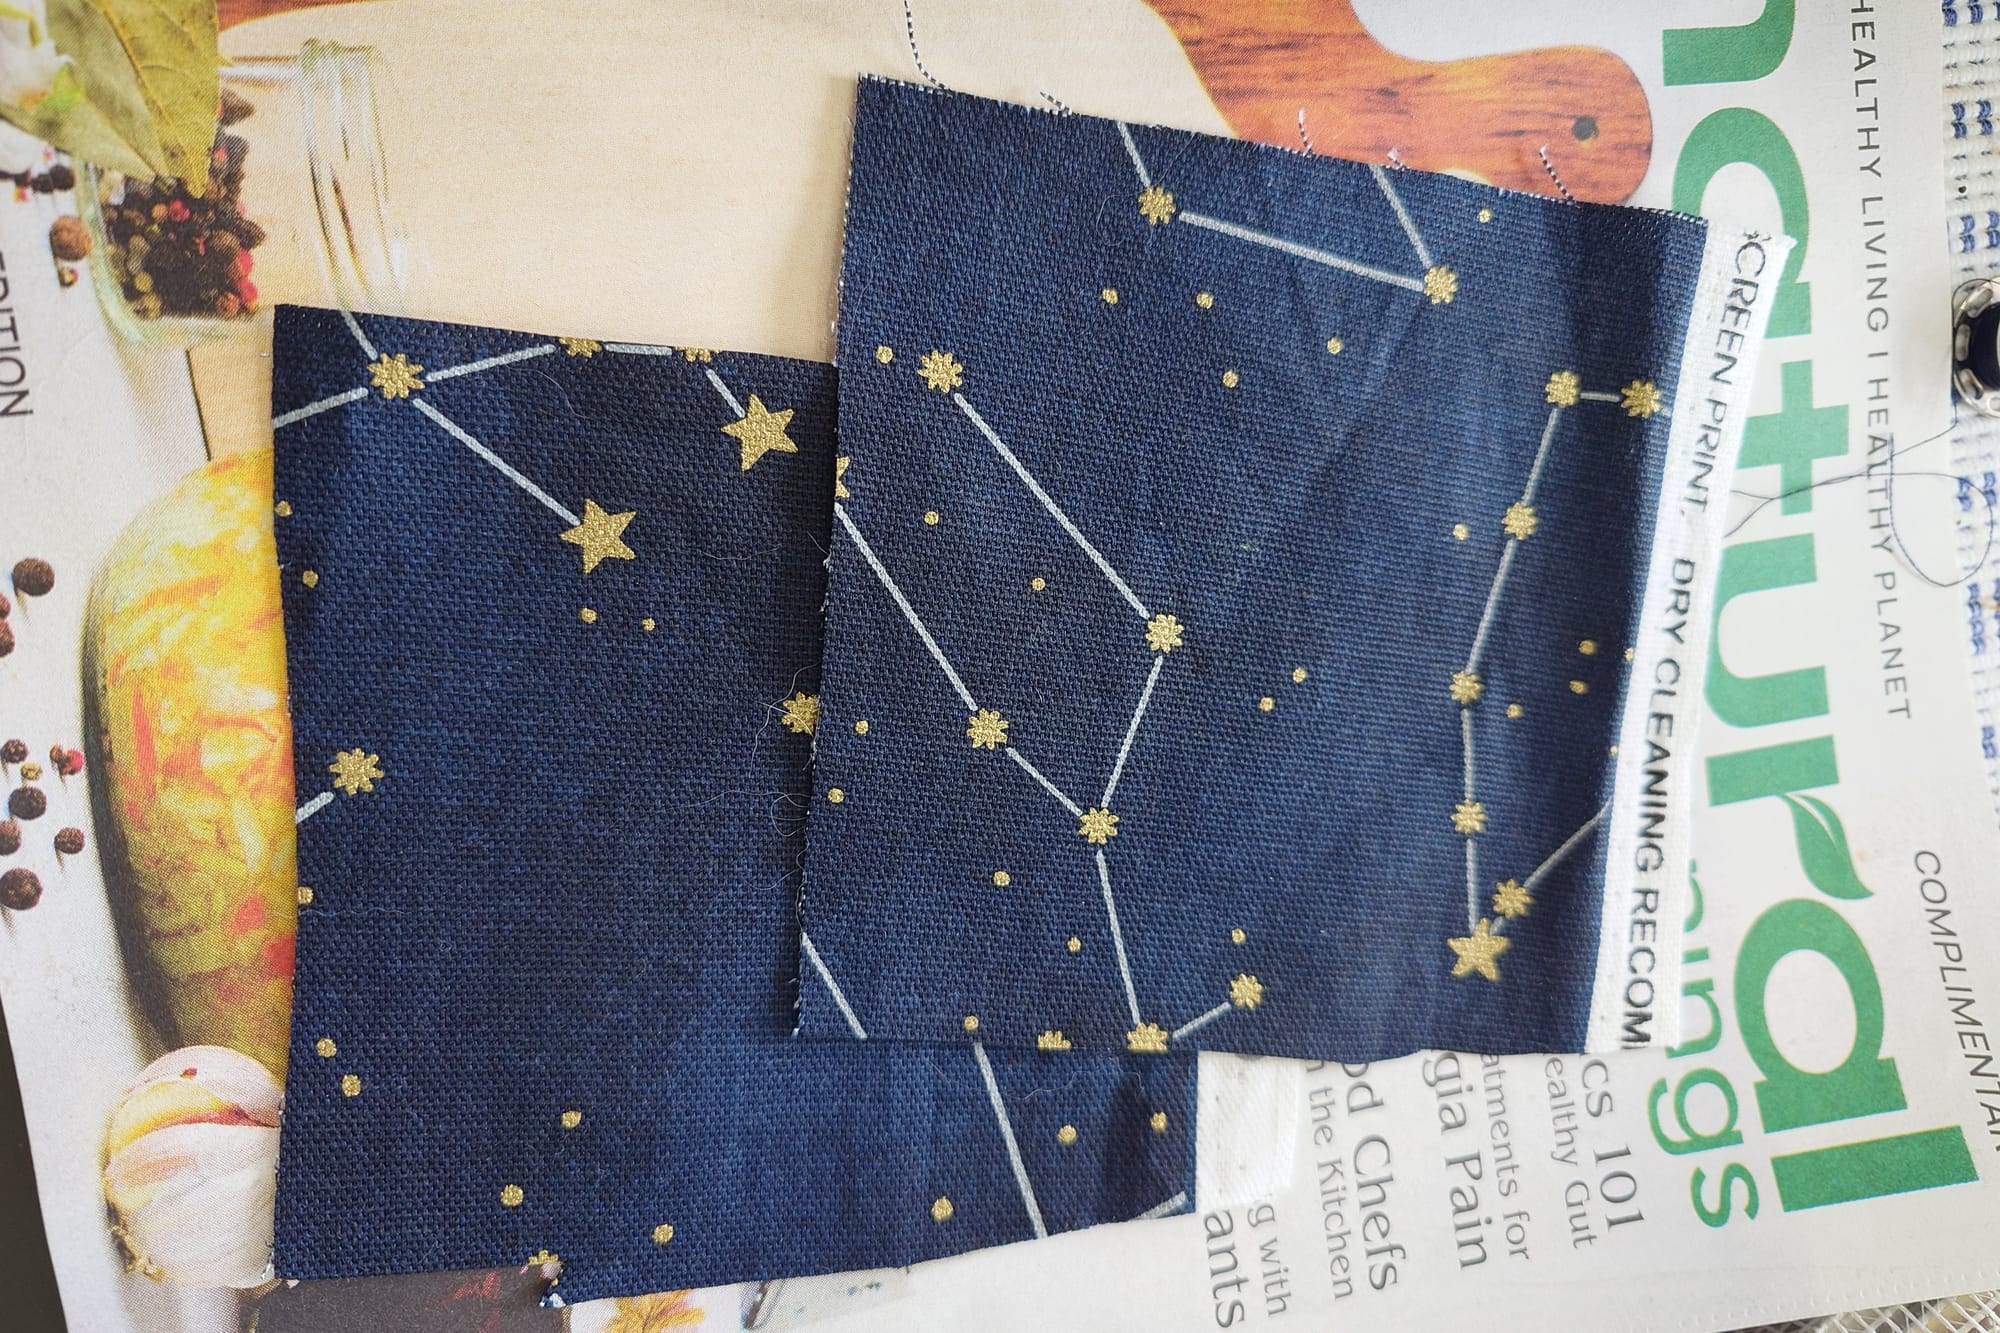
There isn't much required to do the repair. In addition to the replacement insoles ($25 + shipping), I dug some fabric out of my stash, and used thread, a needle, some clamps, and Aleene's Super Fabric Glue.
The fabric is something more sturdy that is meant for upholstery, but aside from that, there is nothing special about it. I didn't worry about it being anything that was easily hidden, I simply wanted to make sure it would last for a while.
The thread I used was regular Coates and Clark sewing thread that I had on hand, and the sewing needle was nothing special, just one from my needle pouch. I definitely recommend one that is strong enough to go through layers that might be a little thicker depending on the materials you are working with.
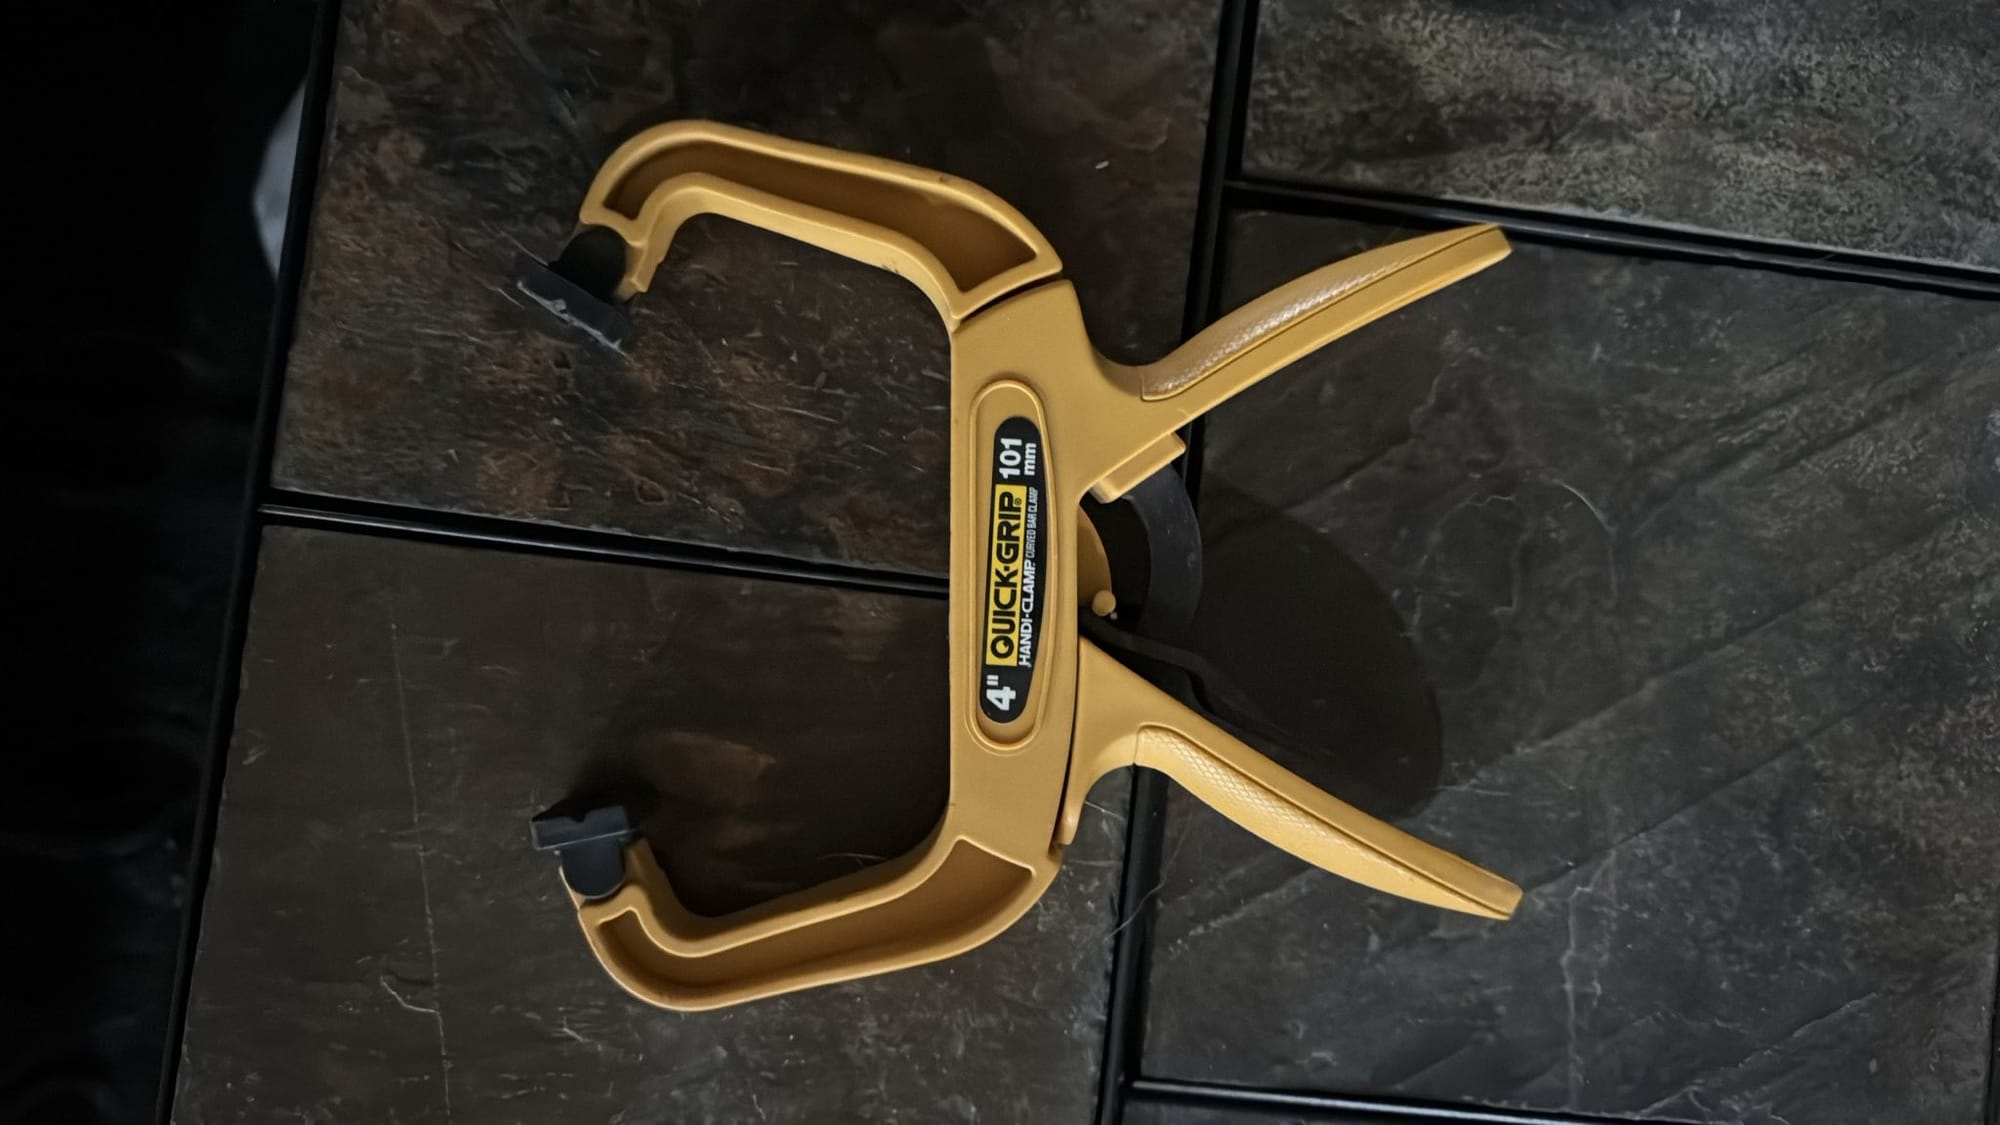
The clamps are ones that my husband has around the house for maintenance use, and have a ratcheting closure. This made it easy to control the amount of pressure on the shoe while the glue dried. Anything that will keep some pressure on the shoes while the glue dries is sufficient, so use what you have.
Step 3: Stitching down the fabric
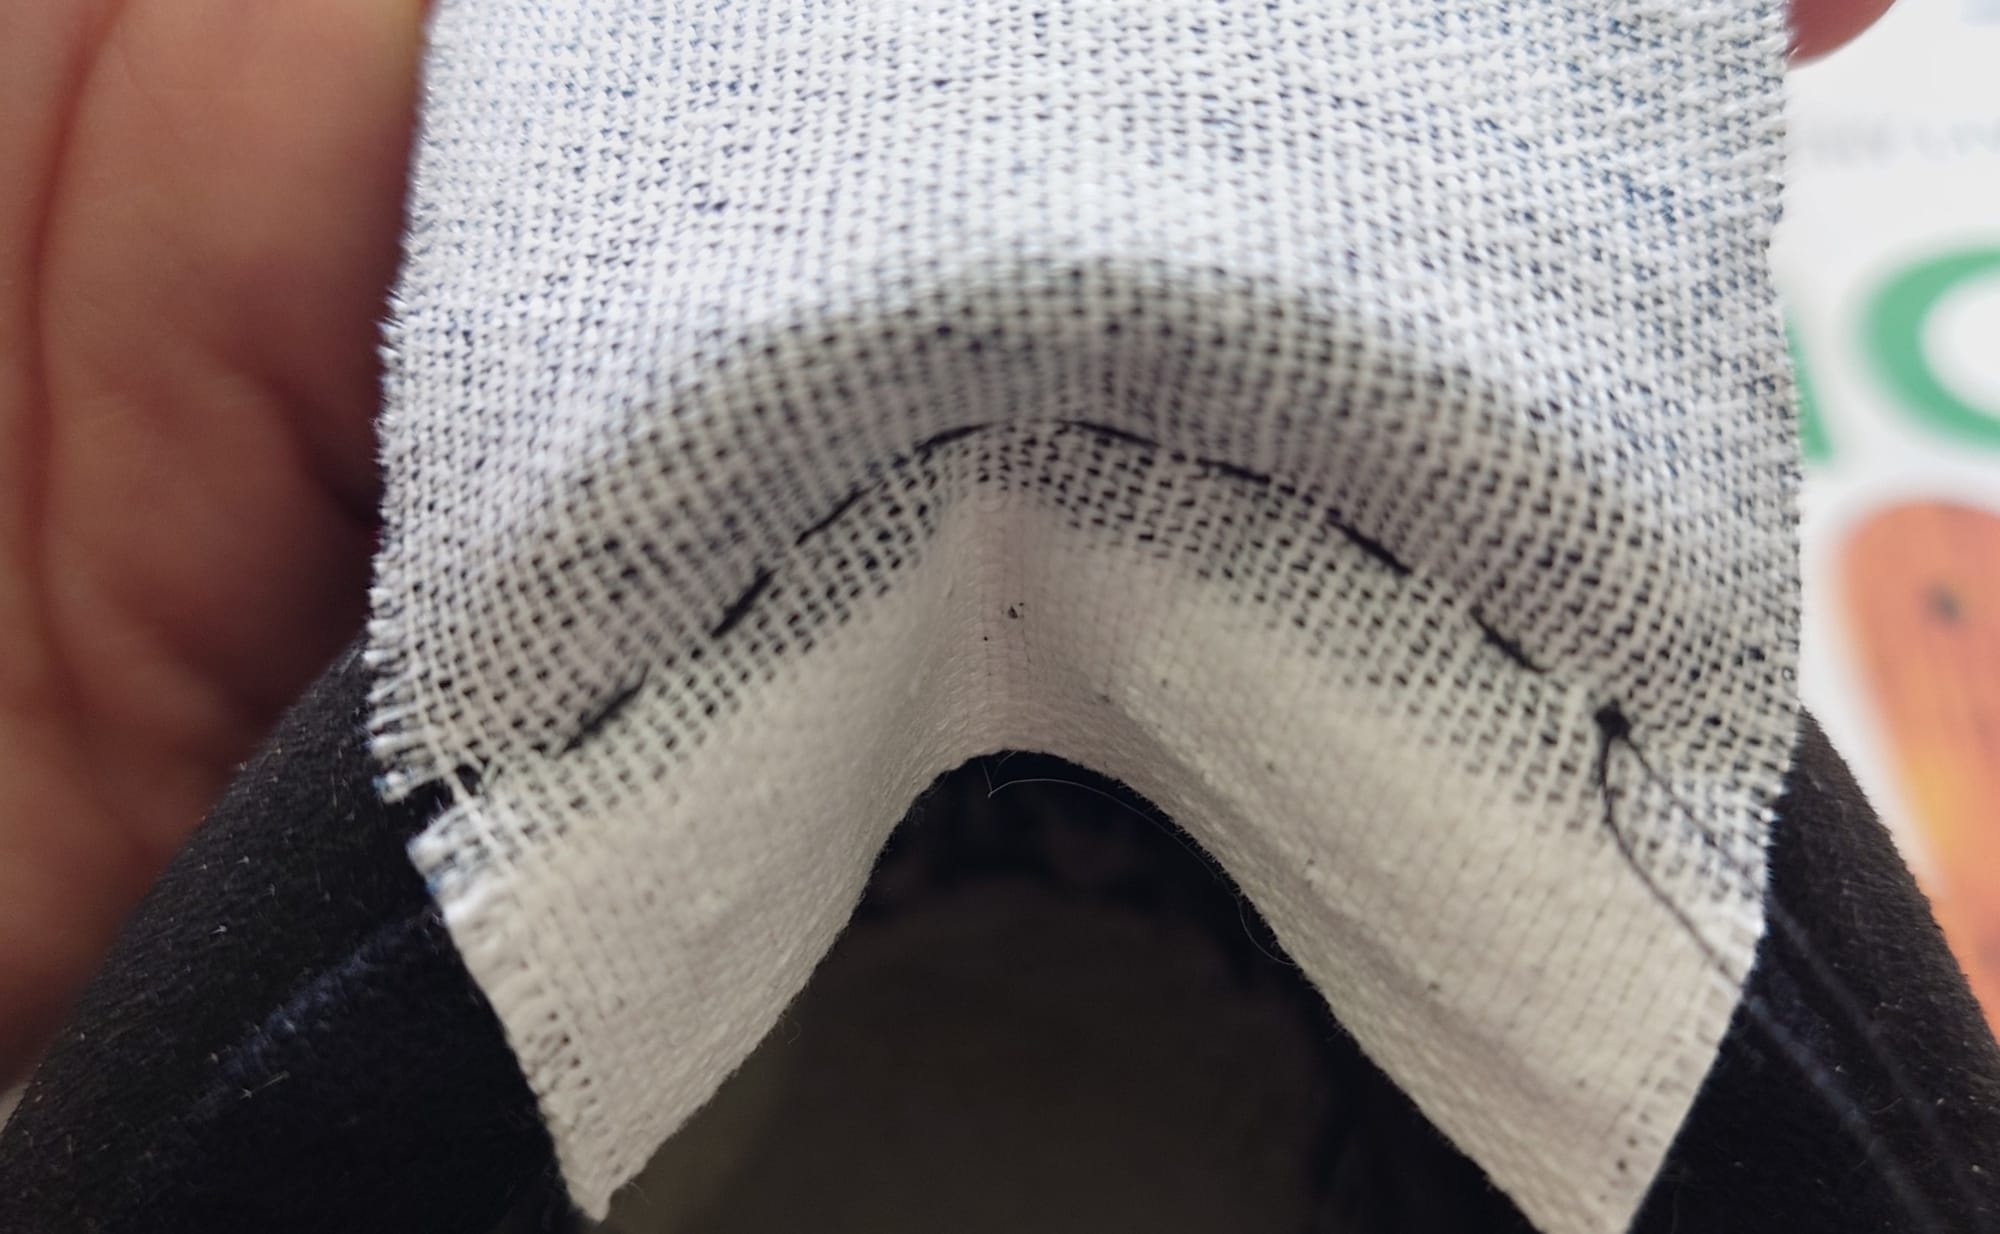
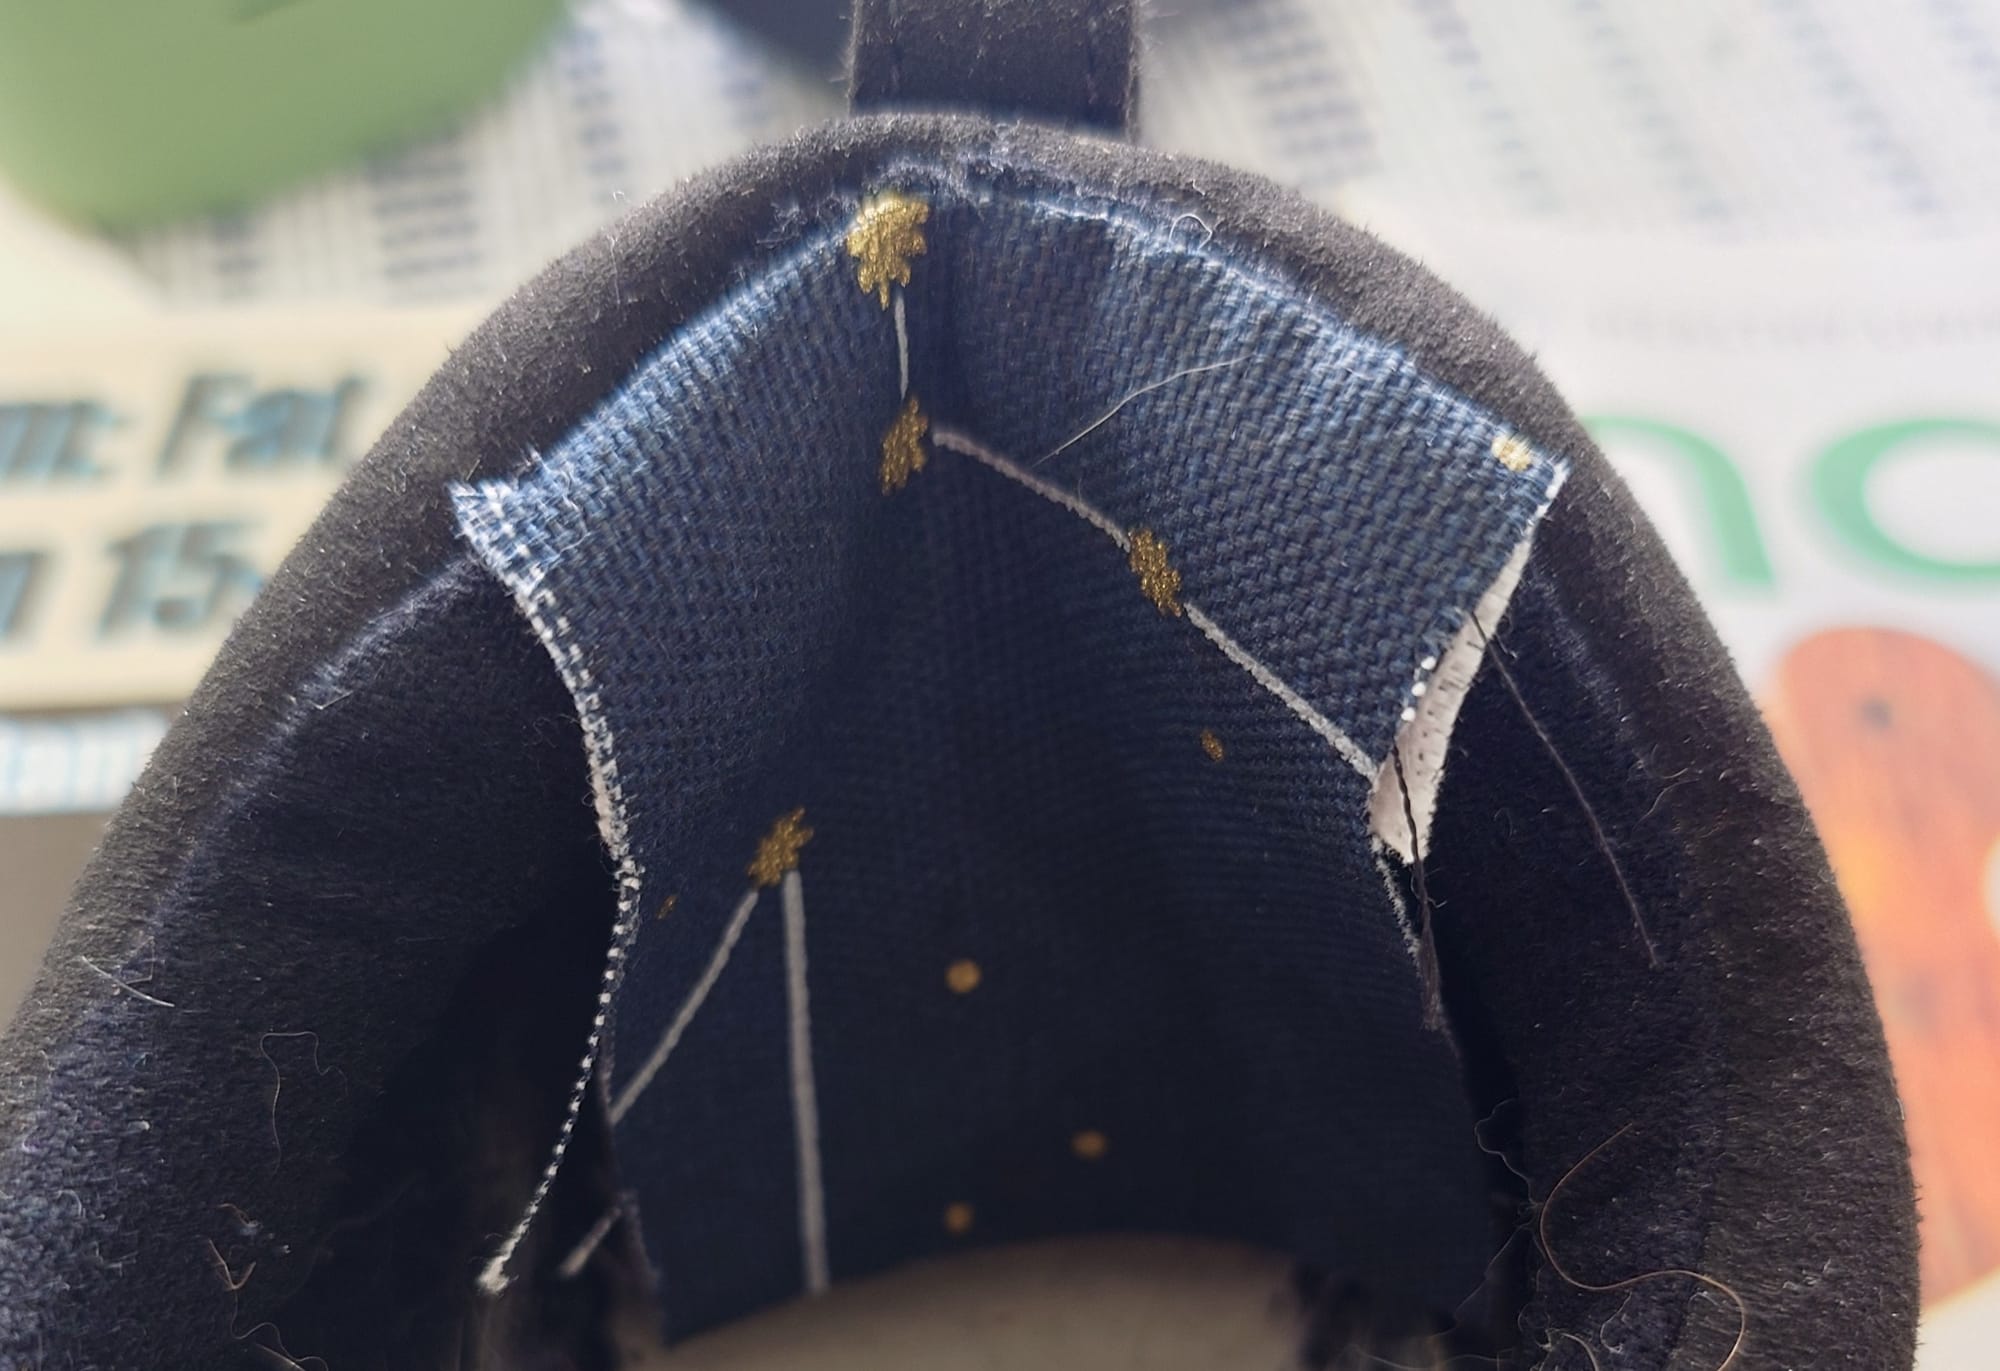
Stitching the top edge of the fabric above the damage helps hold the fabric in place, while limiting further damage to the inside of the shoe. I cut the fabric narrow enough so that there wasn't a bunch of extra fabric inside the shoe, but enough that it covered all of the worn area inside the heel.

After folding down about 1/2" of the edge of the fabric, I started stitching it into the shoe. No special stitch was used here, I just did a quick and easy stitch to hold the edge of the fabric in place.
Step 4: Gluing in the fabric
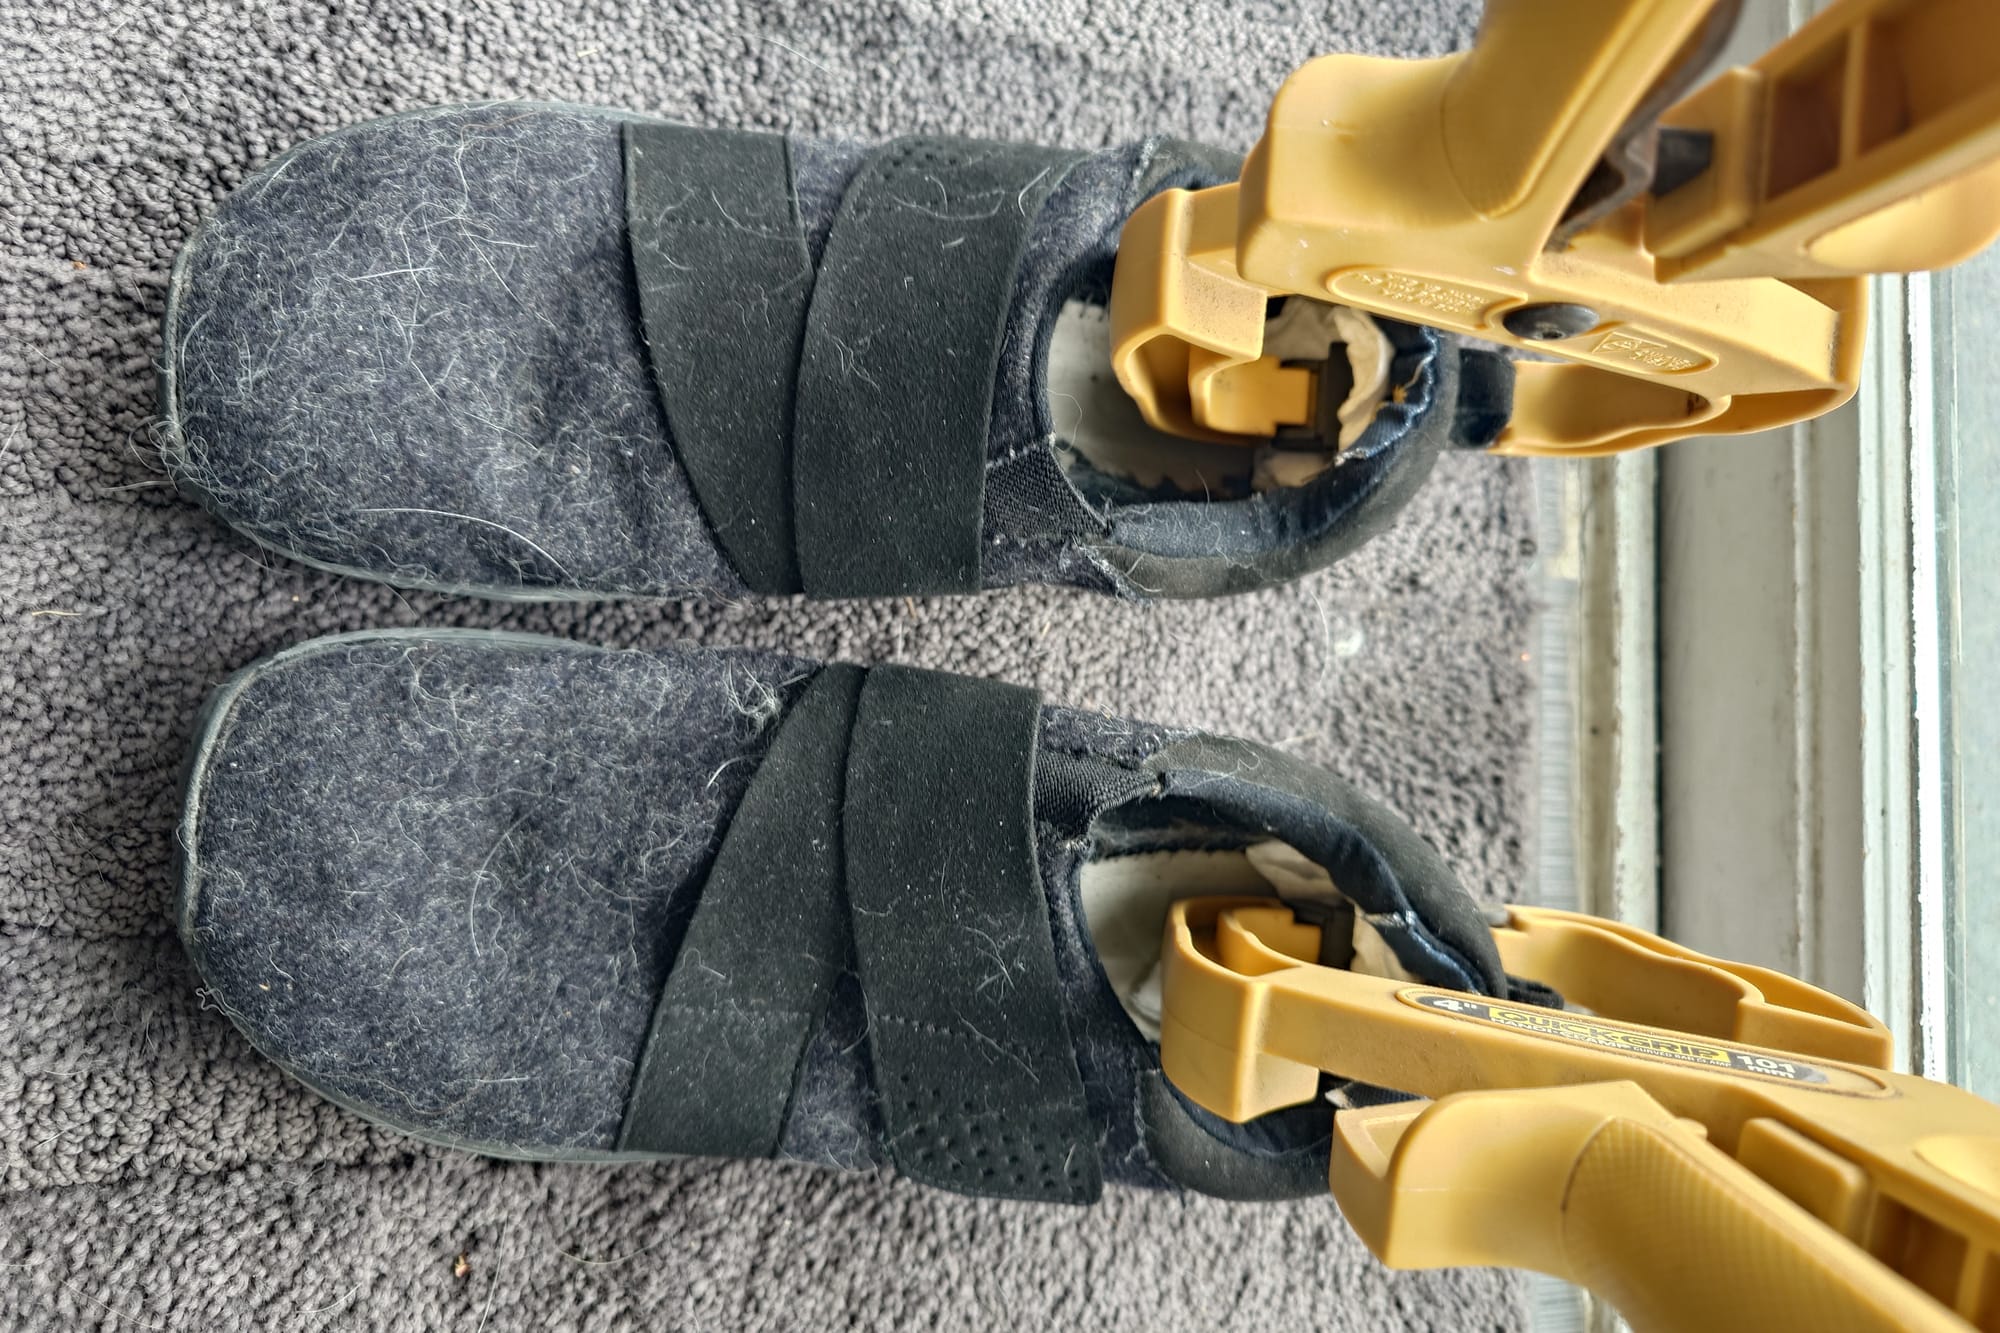
The next step of the process was to put glue on the back side of the fabric, then clamp it down to keep it in place while the glue dried. I used some paper towel to help keep pressure on the entire piece of fabric even inside of the shoe so that the fabric stayed where I wanted it to while drying. After clamping everything in place, I set the shoes aside for ~48 hours to allow the glue to dry completely.
Step 5: Finishing things up
Once the glue was dry, I removed the clamps and the paper towel from the heel of the shoe. I slipped the new insoles into the shoes, and used a lint roller to pick up the fuzzies and dog hair off the shoe uppers, and that's it! This was a relatively easy repair that didn't take much more than an hour to do (not including waiting for the glue to dry).
Wrap up
There are other, less involved ways to repair the heel of a shoe. I have seen folks use duct tape, stitched in leather scraps, and more. The best way to do something like this is the one that fits the resources you have available to you.
The most important thing I want to stress here is the following: what can you get more life out of from a (simple) repair? As a society, we have generally been of the attitude that we can "just buy a new one", and while sometimes we do need to replace things, imagine the impact on our planet if we took time to repair things first?
I acknowledge that not everyone has this opportunity. For those of us that do, what's holding you back? If we want to build the opposition to the destruction of our planet due to overconsumption and capitalism, I invite you to take advantage of these opportunities where you can.